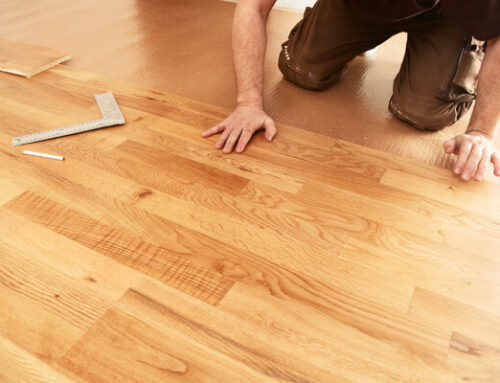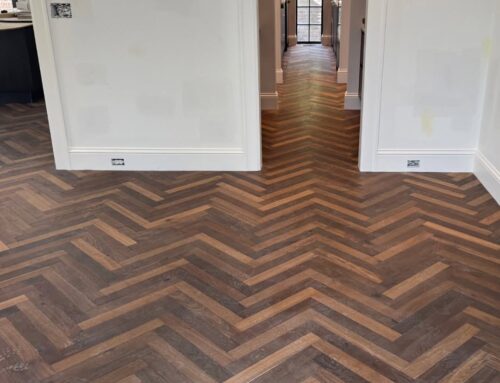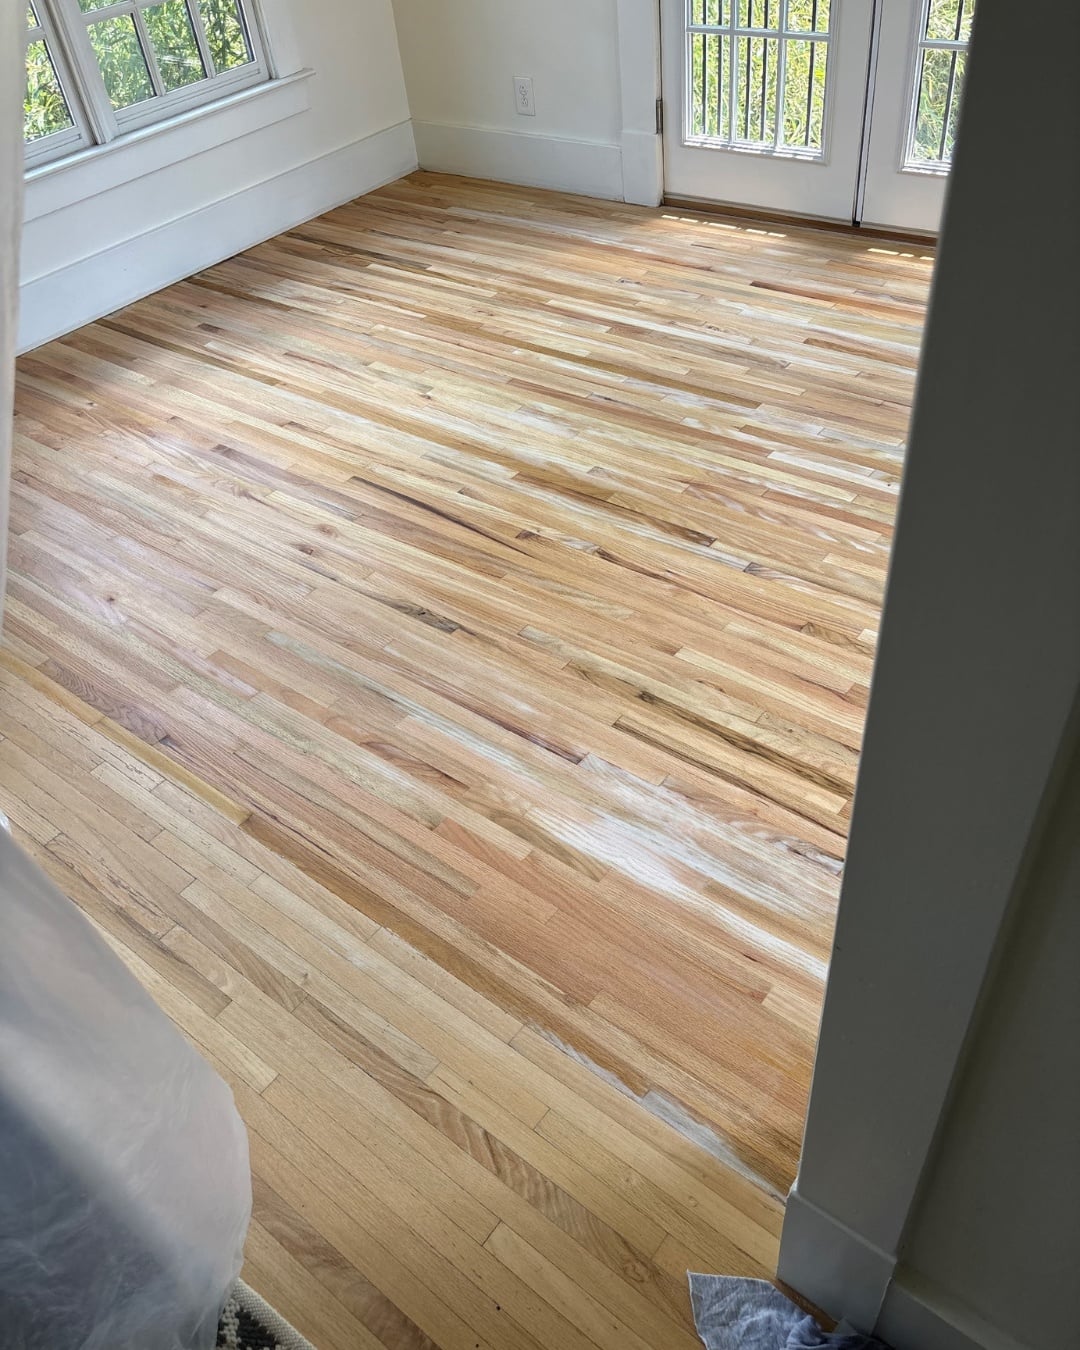
Subfloor preparation for hardwood flooring is the step that happens before a single plank goes down, and it plays a major role in how long your new floors last. It typically includes a moisture inspection, leveling any uneven areas, and confirming the subfloor is solid enough to support your chosen installation method. Skipping or rushing this stage is one of the most common reasons floors develop problems later.
Why Subfloor Preparation Comes Before Everything Else
A hardwood floor is only as good as what’s underneath it. Before installation begins, the subfloor gets thoroughly assessed and prepared to prevent future issues like squeaking, gaps, or unevenness. This isn’t a cosmetic step. It’s the foundation the rest of the project depends on, and it’s part of what separates a floor that looks great for years from one that starts showing problems within months.
What Subfloor Preparation Actually Involves
Before installation begins, a proper subfloor assessment checks for a few key things:
- Moisture levels are checked to confirm the subfloor is dry enough for installation
- Uneven areas are leveled so planks sit flat and consistently across the whole room
- Overall stability is confirmed so the subfloor can properly support the flooring above it
This groundwork matters no matter which installation method your project ends up using. Nail-down installation needs a wood subfloor that can hold nails securely. Glue-down installation depends on a clean, flat surface for the adhesive to bond properly. Floating installation still needs a level base, even though the planks aren’t attached directly to it.
How Subfloor Condition Affects Your Installation Method
The condition of your subfloor often determines which installation approach makes the most sense for your home. A solid wood subfloor opens up options like nail-down installation, while a concrete subfloor typically calls for glue-down or floating methods instead. This is one of the reasons a professional assessment happens early, before decisions about materials or methods are finalized. Understanding what to expect during installation makes it easier to see how subfloor prep connects to everything that follows.
Why This Step Is Worth the Time
It can be tempting to see subfloor prep as a delay standing between you and finished floors. In practice, it’s the opposite. Time spent leveling, inspecting, and preparing the subfloor now is what prevents squeaks, gaps, and uneven spots from showing up later, long after the installation crew has left. A floor installed over a properly prepared subfloor is simply built to last longer with fewer issues down the road.
With over 25 years installing hardwood floors across Greater Nashville, Brentwood, and Franklin, we’ve seen firsthand how much of a difference proper subfloor prep makes to the lifespan of a floor. It’s rarely the most exciting part of a project, but it’s consistently one of the most important.
Frequently Asked Questions
1. Why does subfloor preparation matter for hardwood flooring?
Subfloor preparation prevents future issues like squeaking, gaps, and unevenness. It also determines whether your subfloor is ready for nail-down, glue-down, or floating installation, making it one of the most important steps in the entire process.
2. What does a subfloor inspection check for?
A subfloor inspection typically checks moisture levels, evenness, and overall stability to confirm the surface is ready to support new hardwood flooring.
3. Does my subfloor affect which installation method I can use?
Yes. A solid wood subfloor allows for nail-down installation, while a concrete subfloor generally requires glue-down or floating methods instead.
Not sure what your subfloor needs before installation? Contact C&S Flooring for a free in-home assessment.